15. MapKit2_2022.09.26 (1)
MapKit 1
※ 프로젝트 이름을 framework와 동일하게 지으면 안됨
※ 예를들어 MapKit이라고 이름 지으면 안됨
기본 코드 설정
import MapKitclass ViewController: UIViewController {
private let mapView = MKMapView()
private let mapButton = UIButton(type: .system)
override func viewDidLoad() {
super.viewDidLoad()
setUI()
}
@objc func buttonTapped(_ sender: UIButton) {
print(#function)
}
}
extension ViewController {
private func setUI() {
mapButton.setTitle("Map Button", for: .normal)
mapButton.addTarget(self, action: #selector(buttonTapped(_:)), for: .touchUpInside)
[mapView, mapButton].forEach {
view.addSubview($0)
$0.translatesAutoresizingMaskIntoConstraints = false
}
NSLayoutConstraint.activate([
mapView.leadingAnchor.constraint(equalTo: view.leadingAnchor),
mapView.topAnchor.constraint(equalTo: view.topAnchor),
mapView.trailingAnchor.constraint(equalTo: view.trailingAnchor),
mapView.bottomAnchor.constraint(equalTo: view.bottomAnchor),
mapButton.centerXAnchor.constraint(equalTo: view.centerXAnchor),
mapButton.bottomAnchor.constraint(equalTo: view.bottomAnchor, constant: -60)
])
}
}참고
mapView를 ViewController 전체로 설정
1. mapView의 크기를 view의 frame과 동일하게 만들기
import MapKit

class ViewController: UIViewController {

    private let mapView = MKMapView()

    override func viewDidLoad() {
        super.viewDidLoad()
        mapView.frame = view.frame
    }

}
2. loadView할 때 view를 교체하기
import MapKit

class ViewController: UIViewController {

    private let mapView = MKMapView()

    override func loadView() {
        super.loadView()
        view = mapView
    }

    override func viewDidLoad() {
        super.viewDidLoad()

    }

}
사용자의 위치 보기
1. CoreLocation을 import
2. CLLocationManager의 객체 만들기
3. 사용자 위치 받기 권한 처리 requestLocationAuthorization()
import UIKit
import MapKit
import CoreLocation // 1. import하기
class ViewController: UIViewController {
// 2. CLLocationManager 객체 찍기
private let locationManager = CLLocationManager()
private let mapView = MKMapView()
private let mapButton = UIButton(type: .system)
override func viewDidLoad() {
super.viewDidLoad()
setUI()
requestLocationAuthorization()
}
@objc func buttonTapped(_ sender: UIButton) {
print(#function)
}
}
// 3. 사용자 위치 요청하기
extension ViewController {
private func requestLocationAuthorization() {
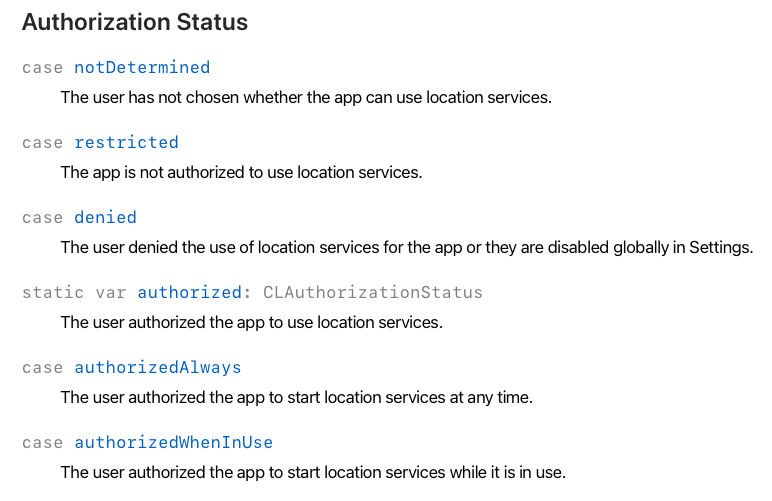
let status = locationManager.authorizationStatus
// 권한 요청
switch status {
case .notDetermined:
locationManager.requestWhenInUseAuthorization()
case .restricted:
break
case .denied:
break
case .authorizedAlways, .authorizedWhenInUse, .authorized:
// 위치 권한이 허용된 경우 한꺼번에 처리
@unknown default:
// 추가된 새로운 케이스는 나중에 처리할게!! 나중에 추가된 케이스는 여기로 빠지게 됨
break
}
}
}
//UI는 이후 생략
-requestWhenInUseAuthorization : 앱을 사용할 때만(=포그라운드) 사용자 위치 정보 사용
-requestAlwaysAuthorization : 앱을 사용하지 않을 때(=백그라운드 상태)도 사용자의 위치 정보 사용

참고 : https://dev.classmethod.jp/articles/ios-location-approval-kr/
4. info.plist 설정
Key : Privacy - Location When In Usage Description
Value : 위치 허용을 받을 때 나올 메시지 작성


5. CLLocationManager의 delegate를 이용해 위치 받기
- delegate = self 선언
locationManager.delegate = self- 위치 사용 권한이 허용인 경우만 locationManager에게 위치 요청 &&
extension ViewController {
private func requestLocationAuthorization() {
let status = locationManager.authorizationStatus
switch status {
case .notDetermined:
locationManager.requestWhenInUseAuthorization()
case .restricted:
break
case .denied:
break
case .authorizedAlways, .authorizedWhenInUse, .authorized:
// ⭐️위치 권한이 허용된 경우 -> ⭐️ 사용자의 위치 요청
locationManager.requestLocation()
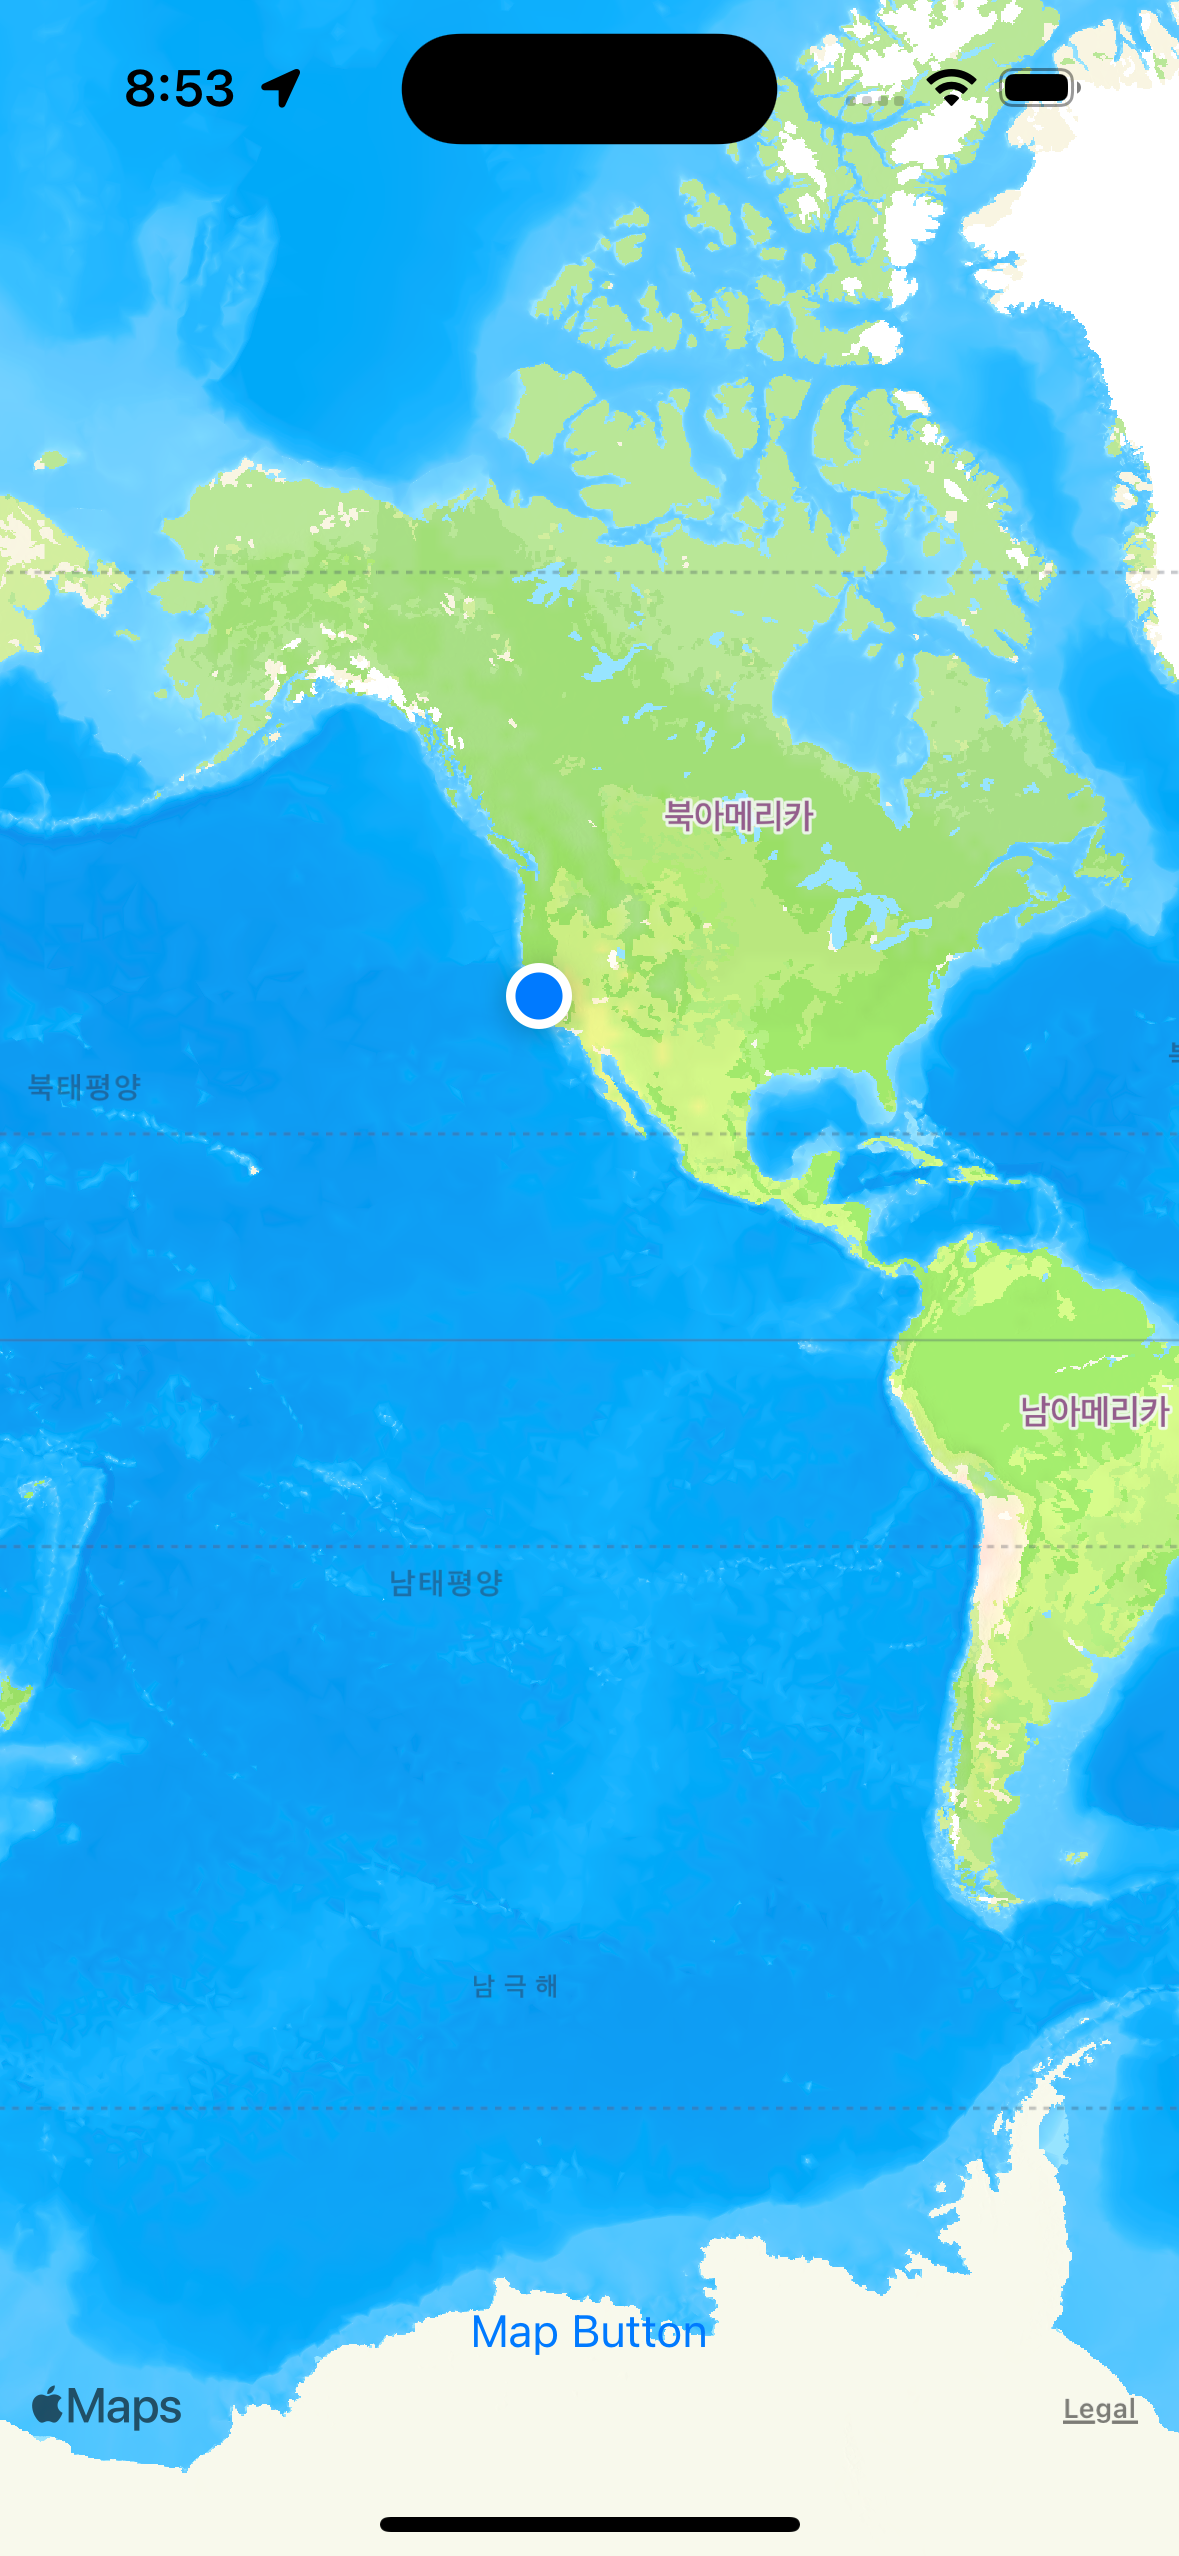
// ⭐️위치 권한이 허용된 경우 -> ⭐️ 사용자의 위치 보이기
mapView.showsUserLocation = true
@unknown default:
// 추가된 새로운 케이스는 나중에 처리할게!! 나중에 추가된 케이스는 여기로 빠지게 됨
break
}
}
}- delegate method 구현 (didUpdateLocations메서는 반드시 실패 부분도 구현해줘야 함)
extension ViewController: CLLocationManagerDelegate {
    func locationManager(_ manager: CLLocationManager, didUpdateLocations locations: [CLLocation]) {
        print(locations)
    }

    func locationManager(_ manager: CLLocationManager, didFailWithError error: Error) {
        print(error)
    }

    // 위치 권한 허용 여부가 변경됐을 때 호출되는 메서드
    func locationManagerDidChangeAuthorization(_ manager: CLLocationManager) {
        requestLocationAuthorization()
    }
}
- 여기까지 하면 사용자의 위치가 뜸 (시뮬레이터라 Apple 위치로 뜸)
6. protocol을 이용해 위치 모델 만들기
import CoreLocation
import Foundation

protocol LocationRepresentable {
    var name: String { get set }
    var latitude: CLLocationDegrees { get set }
    var longitude: CLLocationDegrees { get set }
}

struct Stadium: LocationRepresentable {
    static let stadium = [
        Stadium(name: "Emirates Stadium", latitude: 51.5549,longitude: -0.108436),
        Stadium(name: "Stanford Bridge", latitude: 51.4816,longitude: -0.191034),
        Stadium(name: "White Hard Lane", latitude: 51.6033,longitude: -0.065684),
        Stadium(name: "Olympic Stadium", latitude: 51.5383,longitude: -0.016587),
        Stadium(name: "Old Tranfford", latitude: 53.4631,longitude: -2.29139),
        Stadium(name: "Anfield", latitude: 53.4308, longitude: -2.96096)
    ]

    var name: String
    var latitude: CLLocationDegrees
    var longitude: CLLocationDegrees
}