
티스토리 뷰
현재 설치된 것
✅ 맥북 : ventura 13.4
✅ xcode : 14.3.1
✅ vscode : 1.81.0
설치가 필요한 것
☑️ Flutter
☑️ Android Studio
☑️ 기타
Flutter 설치
1. 플러터 사이트 방문하여 애플 실리콘용 설치 파일 다운로드
https://docs.flutter.dev/get-started/install/macos
macOS install
How to install on macOS.
docs.flutter.dev

2. 압축 풀기
3. 터미널 켜서 플러터 경로 설정
mkdir ./Developments && mv ~/Downloads/flutter ./Developments/ && echo 'export PATH="$PATH:$HOME/Developments/flutter/bin"' >> ~/.zshrc && source ~/.zshrc
4. 터미널에서 Flutter doctor 해보기
flutter doctor
※ xcode가 설치 되어 있는데도 경고 표시가 떠서 안내대로 명령어 터미설에서 실행하니 됐음
sudo xcode-select --switch /Applications/Xcode.app/Contents/Developer
Android Studio 설치
1. 홈페이지에서 애플칩용 다운로드
https://developer.android.com/studio
Download Android Studio & App Tools - Android Developers
Android Studio provides app builders with an integrated development environment (IDE) optimized for Android apps. Download Android Studio today.
developer.android.com
2. 다운로드된 파일 실행하면 아래와 같이 응용프로그램 설치가 가능
(왼쪽 아이콘을 오른쪽으로 드래그 해주면 됨!)
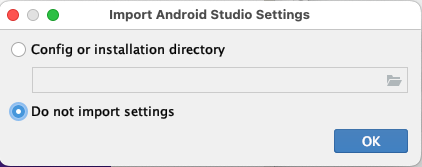
3. 다운로드된 안드로이드 스튜디오 실행 후 기본 설정
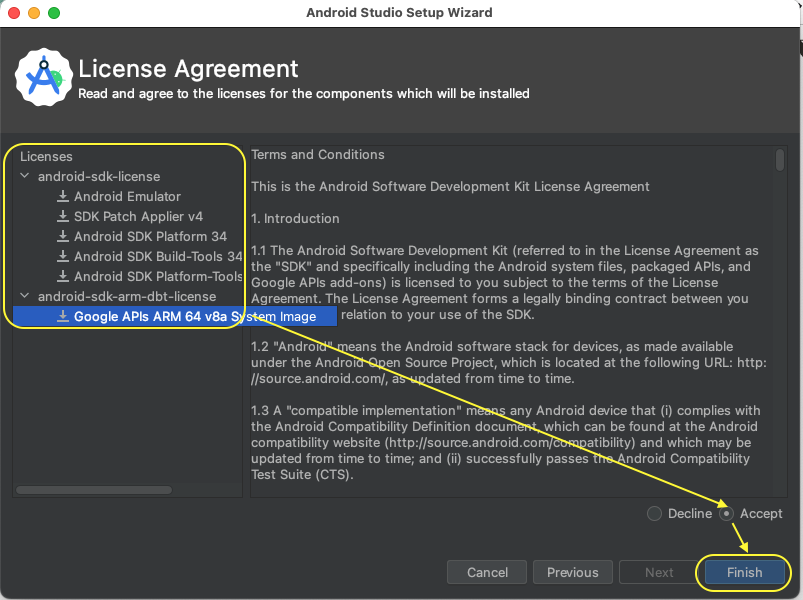
※이런 저런 동의 사항들이 나오는데, OK하고 Next 하면 됨.
※ License Agreement는 왼쪽에 Licenses 항목마다 Accept를 눌러야 Finish가 활성화됐음!
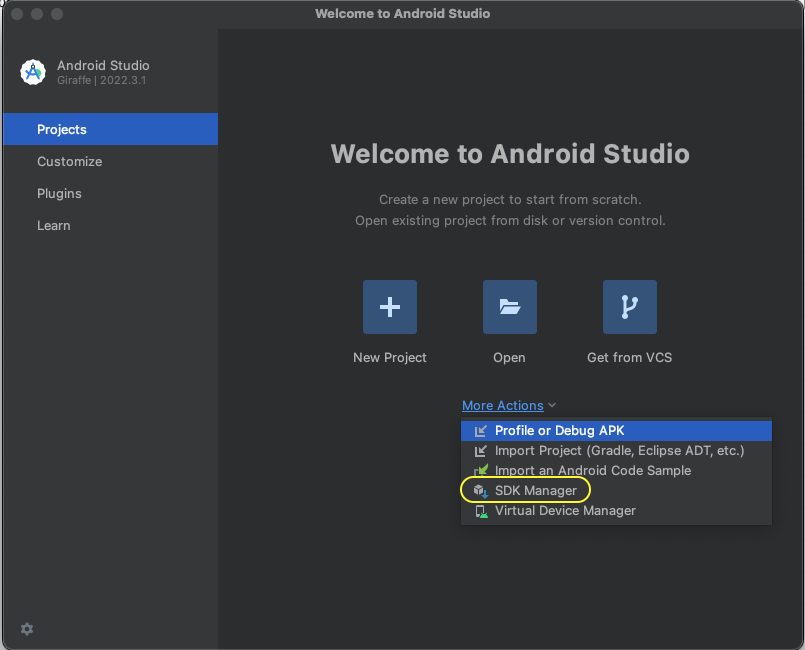
4. SDK 매니저에서 Android SDK Command-line Tools 설치

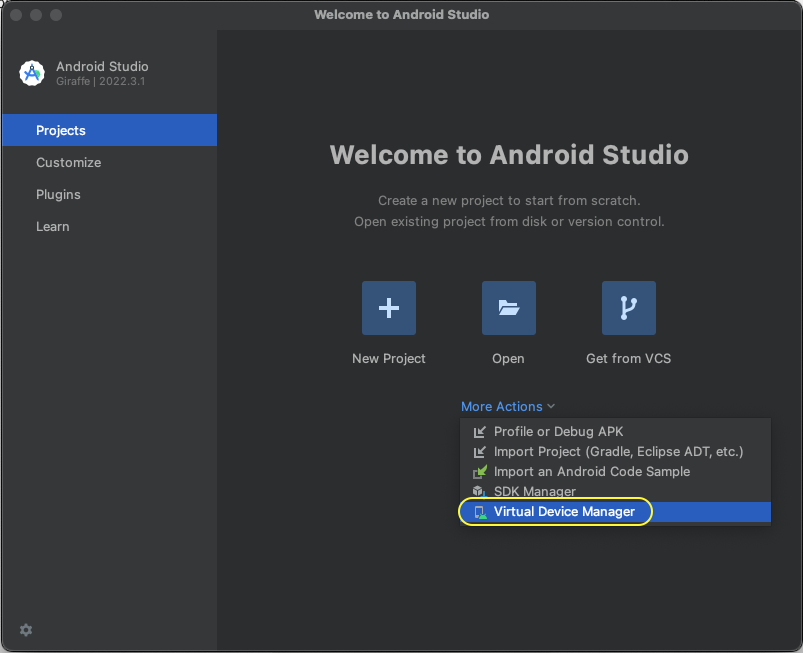
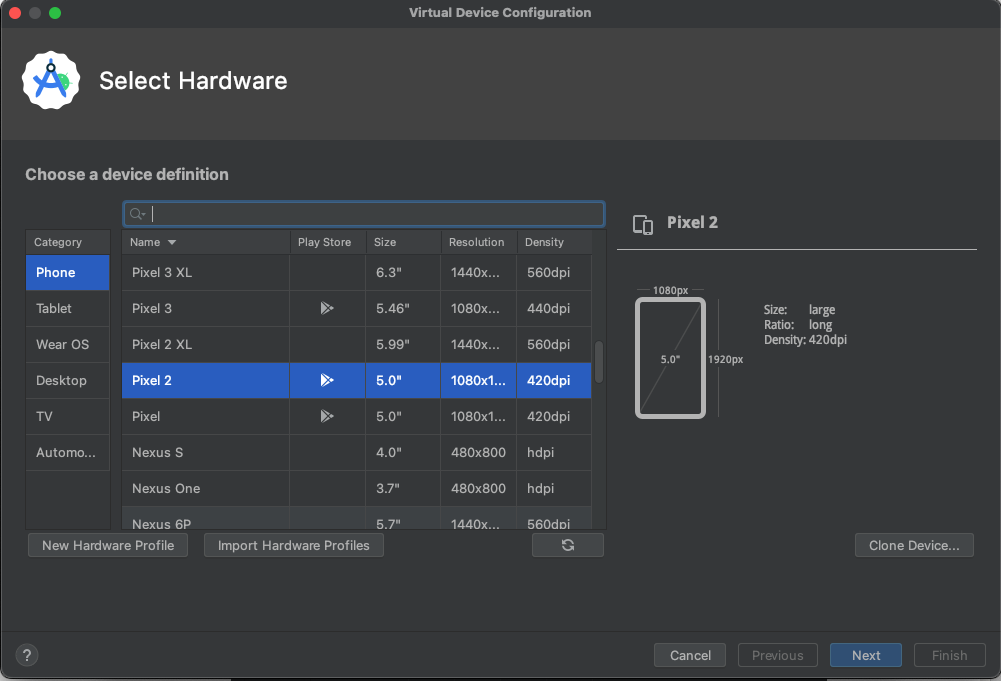
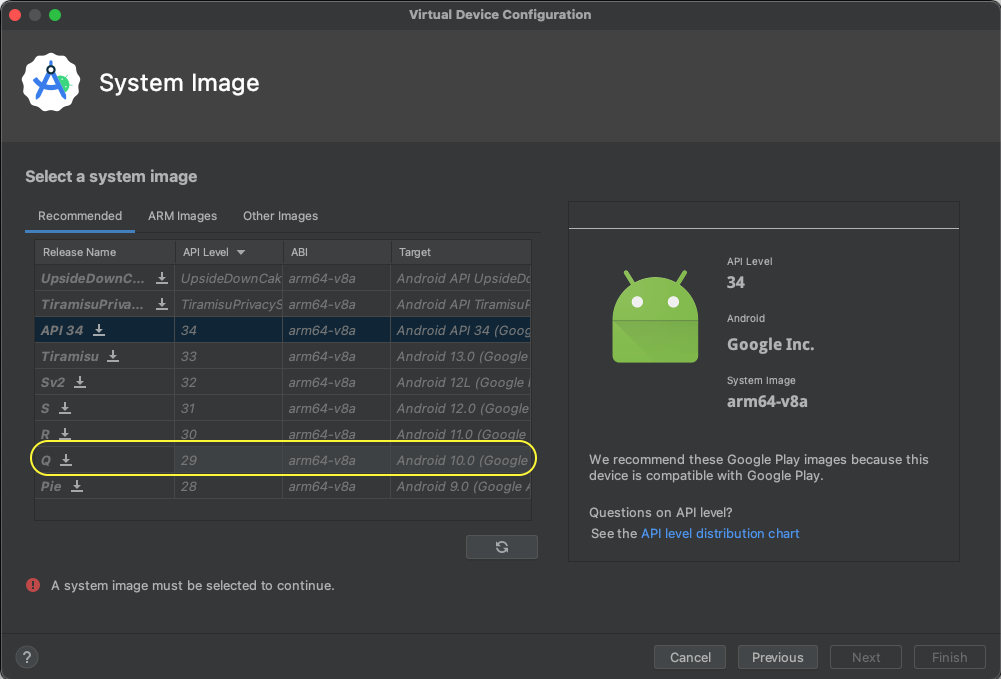
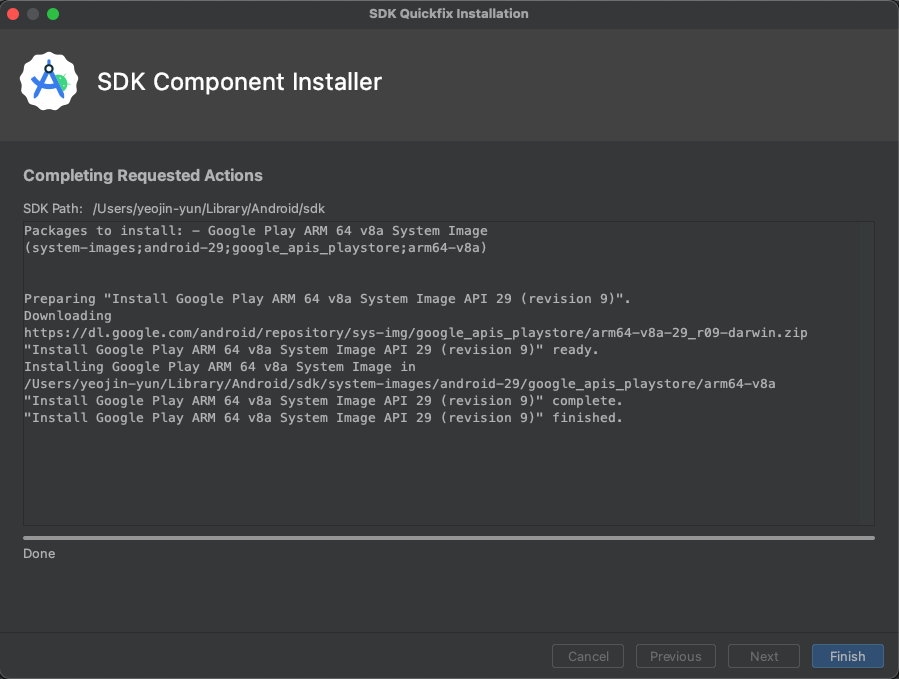
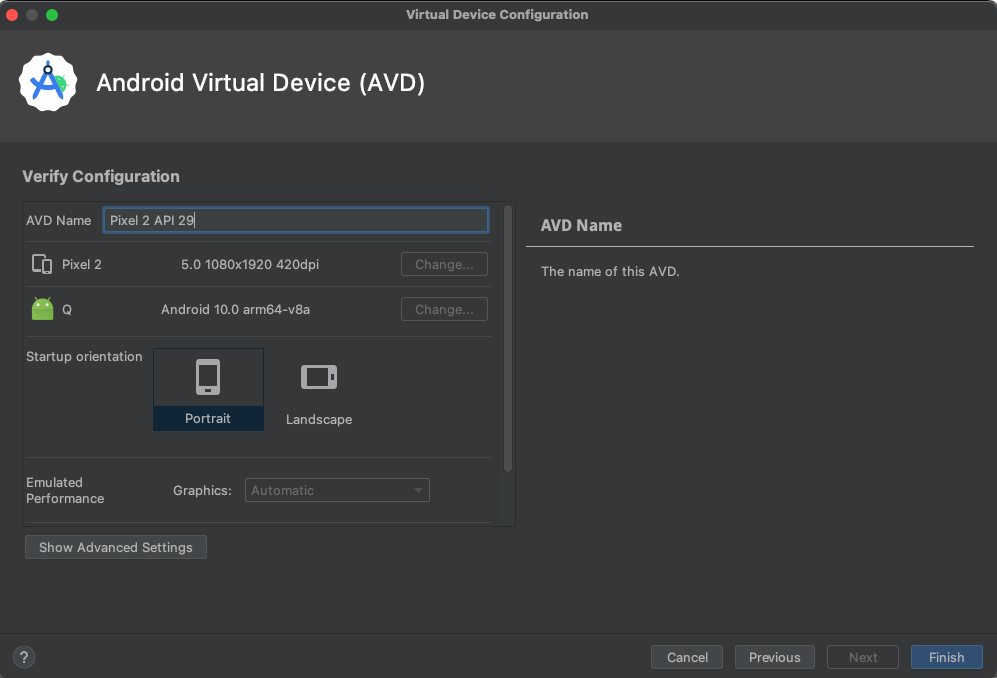
5. 가상 디바이스 추가
Visual Device Manager - create device
6. 터미널에서 flutter doctor 쳐서 제대로 설치됐는지 확인
※ Android licenses가 승인되지 않았다는 메세지!
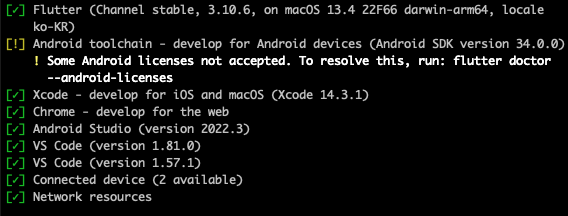
※ 터미널에서 flutter doctor --android-licenses를 해주고 나오는 항목마다 y를 쳐주면 끝!
'Flutter' 카테고리의 다른 글
| You are applying Flutter's app_plugin_loader Gradle plugin imperatively using the apply script method, which is deprecated and will be removed in a future release 처리하기 (2) | 2024.06.13 |
|---|---|
| [Flutter] push, pop 화면 전환하며 데이터 넘겨 받는 방법 (1) | 2024.06.12 |
| 3. flutter에 이미지와 폰트 추가하기 (vscode) (0) | 2023.04.28 |
| 2. vscode 에뮬레이터/시뮬레이터 추가하기 (0) | 2023.04.22 |
| 1. vscode에서 플러터 프로젝트 만들기 (0) | 2023.04.22 |
- Total
- Today
- Yesterday