티스토리 뷰

울궈먹는 뷰컨 ㅎㅎ
ㅋㅋㅋpaging 기능은 정말 여러가지 방법으로 구현이 가능한대요.
앞선 글에서는 scrollView로 했다면, 오늘은 collectionView로 만들어보는 paging입니다.
import UIKit
import SnapKit

class ViewController : UIViewController {
    let verticalButton = UIButton()
    let horizontalButton = UIButton()
    let secondHorizontalButton = UIButton()
    let scrollButton = UIButton()

    override func viewDidLoad() {
        super.viewDidLoad()
        setUI()
        setDetail()
    }

    @objc func verticalBtnTapped(_ sender: UIButton) {
        let nextVC = VerticalViewController()
        self.navigationController?.pushViewController(nextVC, animated: true)
    }

    @objc func horizontalBtnTapped(_ sender: UIButton) {
        let nextVC = HorizontalViewController()
        self.navigationController?.pushViewController(nextVC, animated: true)
    }
    @objc func horizontal2BtnTapped(_ sender: UIButton) {
        let nextVC = SecondHorizontalViewController()
        self.navigationController?.pushViewController(nextVC, animated: true)
    }

    @objc func collectionViewTapped(_ sender: UIButton) {
        let layout = UICollectionViewFlowLayout()
        let width = UIScreen.main.bounds.width

        layout.itemSize = CGSize(width: width, height: width)
        layout.minimumLineSpacing = 0
        layout.minimumInteritemSpacing = 0
        layout.scrollDirection = .horizontal

        let nextVC = ScrollCollectionViewController(collectionViewLayout: layout)
        self.navigationController?.pushViewController(nextVC, animated: true)
    }
}

extension ViewController {
    func setUI() {
        [verticalButton, horizontalButton, secondHorizontalButton, scrollButton].forEach {
            view.addSubview($0)
        }

        verticalButton.snp.makeConstraints { make in
            make.centerX.equalToSuperview()
            make.top.equalToSuperview().offset(200)
            make.leading.trailing.equalToSuperview().inset(16)
        }

        horizontalButton.snp.makeConstraints { make in
            make.centerX.equalToSuperview()
            make.top.equalTo(verticalButton.snp.bottom).offset(50)
            make.leading.trailing.equalToSuperview().inset(16)
        }
        secondHorizontalButton.snp.makeConstraints { make in
            make.centerX.equalToSuperview()
            make.top.equalTo(horizontalButton.snp.bottom).offset(50)
            make.leading.trailing.equalToSuperview().inset(16)
        }

        scrollButton.snp.makeConstraints { make in
            make.centerX.equalToSuperview()
            make.top.equalTo(secondHorizontalButton.snp.bottom).offset(50)
            make.leading.trailing.equalToSuperview().inset(16)
        }
    }

    func setDetail() {

        [verticalButton, horizontalButton, secondHorizontalButton].forEach {
            $0.setTitleColor(.white, for: .normal)
            verticalButton.backgroundColor = .black
            verticalButton.addTarget(self, action: #selector(verticalBtnTapped(_:)), for: .touchUpInside)
            verticalButton.setTitle("Vertical Scroll", for: .normal)
            horizontalButton.backgroundColor = .blue
            horizontalButton.addTarget(self, action: #selector(horizontalBtnTapped(_:)), for: .touchUpInside)
            horizontalButton.setTitle("horizontal Scroll(paging)", for: .normal)
            secondHorizontalButton.backgroundColor = .blue.withAlphaComponent(0.8)
            secondHorizontalButton.addTarget(self, action: #selector(horizontal2BtnTapped(_:)), for: .touchUpInside)
            secondHorizontalButton.setTitle("horizontal Scroll(paging)", for: .normal)
            scrollButton.backgroundColor = .blue.withAlphaComponent(0.6)
            scrollButton.addTarget(self, action: #selector(collectionViewTapped(_:)), for: .touchUpInside)
            scrollButton.setTitle("collectionView paging", for: .normal)
        }
    }
}
원래 저는 컬렉션뷰를 만들 때 UIViewController를 상속받은 뷰컨에 컬렉션뷰 객체를 만들어서 구성을 하는데,
오늘은 그냥 UICollectionViewController를 상속받은 뷰컨을 썼는데,,,이거 하느라 시간이 엄청 갔네요 ㅋㅋㅋ
UICollectionViewController를 상속받은 뷰컨을 push할 때는 반드시 layout를 가지고 초기화를 해야한다네요?
오늘 알았어요,,ㅎㅎ,,
그래서 버튼의 액션 event에서 해당 뷰컨으로 push할 때 아래처럼 해주시면 됩니다.
stackoverflow에서 봐서 링크 남길게용.ㅎㅎ
@objc func collectionViewTapped(_ sender: UIButton) {
        let layout = UICollectionViewFlowLayout()
        let width = UIScreen.main.bounds.width

        // 💚
        layout.itemSize = CGSize(width: width, height: width)
        layout.minimumLineSpacing = 0
        layout.minimumInteritemSpacing = 0
        layout.scrollDirection = .horizontal
        // 💚

        let nextVC = ScrollCollectionViewController(collectionViewLayout: layout)
        self.navigationController?.pushViewController(nextVC, animated: true)
}
💚있는 부분이 layout에 핵심인 것 같아요.
collectinoView의 사이즈(width, heignt)를 screen의 크기와 똑같이 맞춰줍니당
section간의 간격(minimumInteritemSpacing)과 item간의 간격(minimumLineSpacing)도 맞춰줄게요!
위에서는 UICollectionViewController를 상속하는 바람에 에러 잡는데 시간을 많이 썼는데,
delegate나 dataSource 선언등을 따로 안해도 되니까 편하긴 하네요! (레이아웃도 안 맞추니까 너무 좋네)
//ScrollCollectionViewController.swift

import UIKit

private let reuseIdentifier = "Cell"

class ScrollCollectionViewController: UICollectionViewController {

    let images = [UIImage(named: "뭉치1"), UIImage(named: "뭉치2"), UIImage(named: "뭉치3")]


    override func viewDidLoad() {
        super.viewDidLoad()
        // 0.
        self.collectionView!.register(MyCollectionViewCell.self, forCellWithReuseIdentifier: reuseIdentifier)
        // 1
        collectionView.isPagingEnabled = true
    }

    // MARK: UICollectionViewDataSource

    override func numberOfSections(in collectionView: UICollectionView) -> Int {
        return 1
    }


    override func collectionView(_ collectionView: UICollectionView, numberOfItemsInSection section: Int) -> Int {
        return images.count
    }

    override func collectionView(_ collectionView: UICollectionView, cellForItemAt indexPath: IndexPath) -> UICollectionViewCell {
        guard let cell = collectionView.dequeueReusableCell(withReuseIdentifier: reuseIdentifier, for: indexPath) as? MyCollectionViewCell else { return UICollectionViewCell() }
        cell.imageView.image = images[indexPath.item]
        return cell
    }

}
0. collection에서는 항상 cell을 register하는 것을 잊으면 안됩니다.
1. collectionView에는 paging 기능이 있기 때문에 이렇게만 선언해줘도 paging이 쌉가능!
//MyCollectionViewCell.swift

import UIKit

class MyCollectionViewCell: UICollectionViewCell {

    let imageView = UIImageView()

    override init(frame: CGRect) {
        super.init(frame: frame)
        setConstraints()
        imageView.backgroundColor = .yellow
    }

    func setConstraints() {
        contentView.addSubview(imageView)
        imageView.translatesAutoresizingMaskIntoConstraints = false
        NSLayoutConstraint.activate([
            imageView.leadingAnchor.constraint(equalTo: contentView.leadingAnchor),
            imageView.topAnchor.constraint(equalTo: contentView.topAnchor),
            imageView.trailingAnchor.constraint(equalTo: contentView.trailingAnchor),
            imageView.bottomAnchor.constraint(equalTo: contentView.bottomAnchor)
        ])
    }

    override func layoutSubviews() {
        super.layoutSubviews()
        imageView.contentMode = .scaleAspectFill
        imageView.clipsToBounds = true
    }

    required init?(coder: NSCoder) {
        fatalError("init(coder:) has not been implemented")
    }
}
cell은 간단하게 imageView만 contentView의 사이즈와 똑같이 만들어주었어요.
scrollView에서는 레이아웃도 맞춰야 하고 코드가 꽤 길었는데, collectionView로 하니까 꽤 간단하쥬?
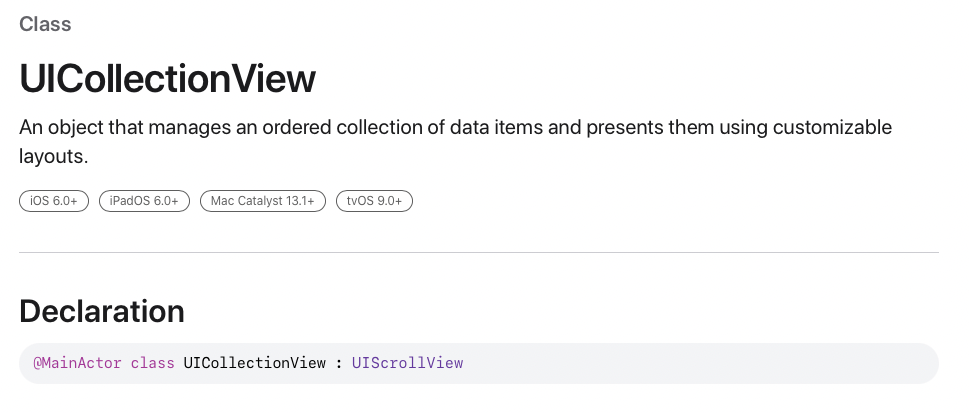
collectionView가 ScrollView를 상속받았기 때문에 scrollView에서 했던 scrollViewDidScroll과 같은 메서드도 모두 사용가능하답니다!
상황에 따라 맞게 쓰면 되겠지만, 그런 게 없다면 collectionView로 써야겠어요 ㅎㅎ
- Total
- Today
- Yesterday